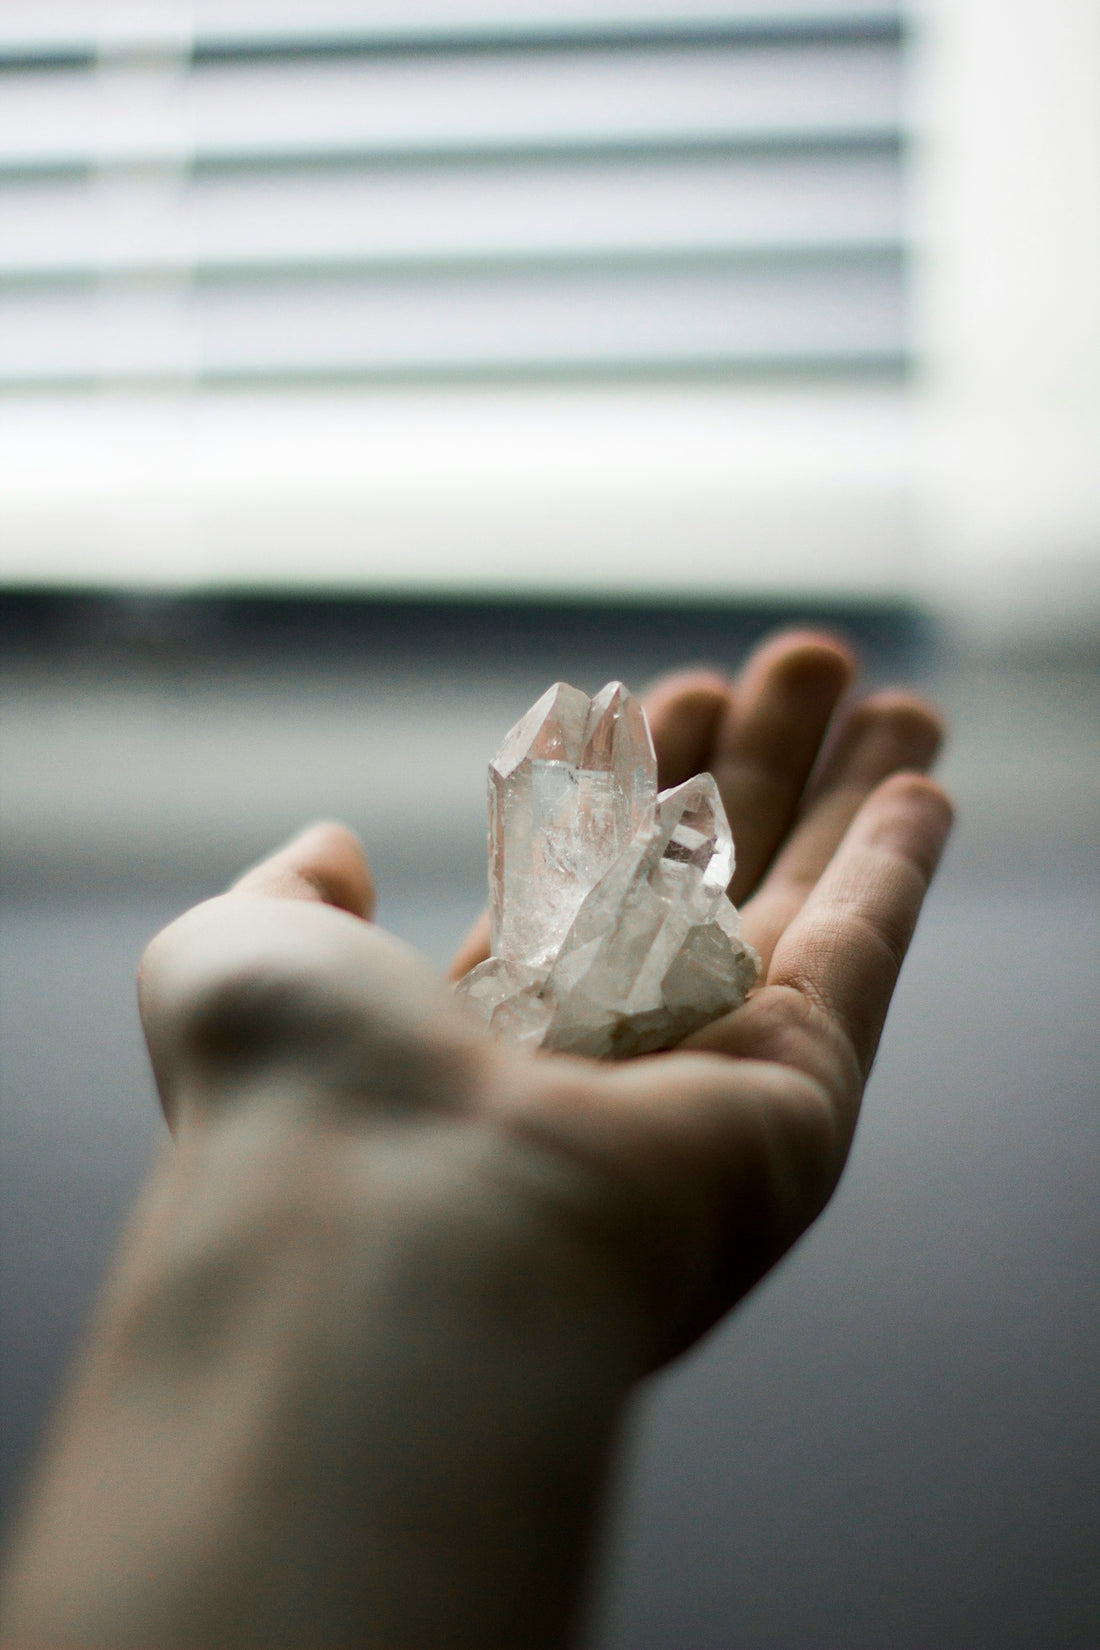
A Step-by-Step Guide to Creating Your Own Crystal Grid
Share
Setting up a crystal grid is an excellent way to harness the energies of crystals and channel them toward specific intentions. Whether you're looking to attract love, enhance creativity, or increase abundance, crystal grids can amplify your desires while providing a captivating visual focal point in your space. Below is a step-by-step guide to help you create a crystal grid tailored to your personal goals.
Step 1: Define Your Intention
The first step in creating a crystal grid is to identify your primary intention. What do you wish to manifest or attract into your life? This intention will guide your choice of crystals and grid layout. Be clear and concise in defining this intention, as it will be the foundation for your grid.
Step 2: Select Your Crystals
Choosing the right crystals is critical, as each crystal carries its unique vibrations and properties. Here are some recommended crystals you can consider for different intentions:
- Large Rhodonite Crystal Stone: Known for its heart-healing properties, this stone is perfect for intentions related to love and emotional balance. You can get your Rhodonite stone from Tookie's Tarot.
- Fluorite Healing Stones: These stones are ideal for enhancing mental clarity and focus. They can be particularly effective in grids set for productivity or learning. Find your Fluorite stones here.
- Raw Amazonite Healing Stones: Known as the "hope" stone, Amazonite is used for its soothing properties and can support you in achieving goals by eliminating negative energy. Explore Amazonite here.
Incorporating supportive crystals like bracelets can also augment your grid energy. Consider Crystal Bracelets to wear alongside your grid work for constant energy infusion, available here.
Step 3: Choose a Grid Layout
Selecting a layout involves determining the geometric shape on which you'll arrange your crystals. Common shapes include circles, hexagons, and star formations, each creating a unique energy flow. You can also use sacred geometry, like the Flower of Life or the Seed of Life, as a template to enhance grid power.
Step 4: Cleanse Your Crystals and Space
Before setting up the grid, cleanse your crystals and the space where they'll be placed. This can involve smudging with sage or palo santo or sound cleansing using a singing bowl. This step ensures that all energies in the area are aligned with your intention.
Step 5: Arrange Your Crystals
With your grid layout in place, begin by placing a larger stone, such as the Large Rhodonite Crystal, in the center. This acts as the grid’s focal point. Expand outward with your supporting stones, like Amazonite and Fluorite, ensuring the symmetrical balance of energy. Trust your intuition; there's no right or wrong way to arrange your crystals.
Step 6: Activate the Grid
The final step is to activate your grid. Using a quartz point or your finger, connect each stone energetically, starting from the center and moving outward, while focusing on your intention. Visualize the fusion of energies creating a powerful force working towards your goal.
Final Thoughts
Creating a crystal grid is as much about the journey as it is about reaching the destination. Enjoy the mindful process of selecting, arranging, and activating your crystals, and trust in the energy they will manifest for you. To explore more crystal options and tools for your journey, visit Tookie's Tarot.
Embrace your creative energies and start your own journey with these powerful tools to transform your intentions into reality!
